|
| Even the hard cover of the book is BEAUTIFUL! |
This book is a compilation of patterns found in 17th to 19th century icelandic manuscripts. There are actually ten sjónabók manuscripts that have been preserved. The book contains all the patterns found in those manuscripts which have been redrawn digitally. It is a source of ideas with strong ties to Icelandic national heritage.
The book has 783 pages FULL of wonderful patterns that can be used for knitting, embroidery, cross stitch or whatever comes to your mind : ) It also comes with a CD!
The book is a little bit pricey but it is worth every crown (króna). It is just WONDERFUL and the best of all... Gummi LOVED it!!
These are a few pages so you can see what I am talking about:


 |
| All the pages are arranged like this: to the left there are diagrams and to the right the drawings with color of the diagrams. |
 |
| Some patterns could make beautiful wallpapers! |


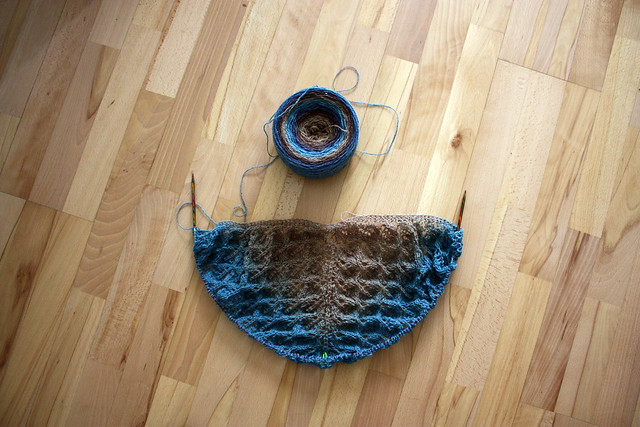
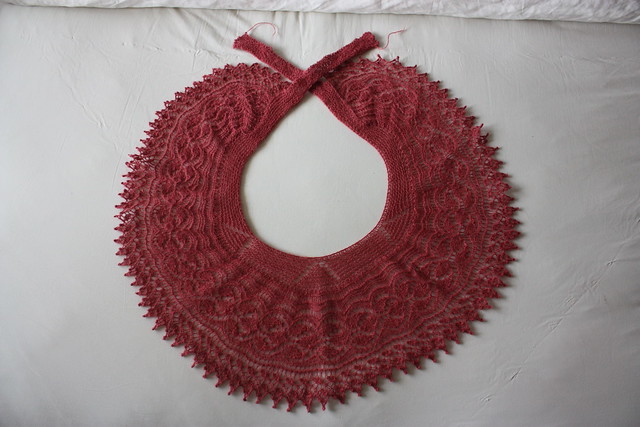
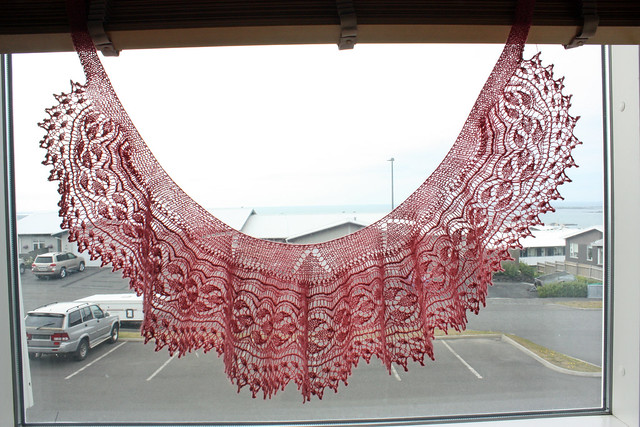
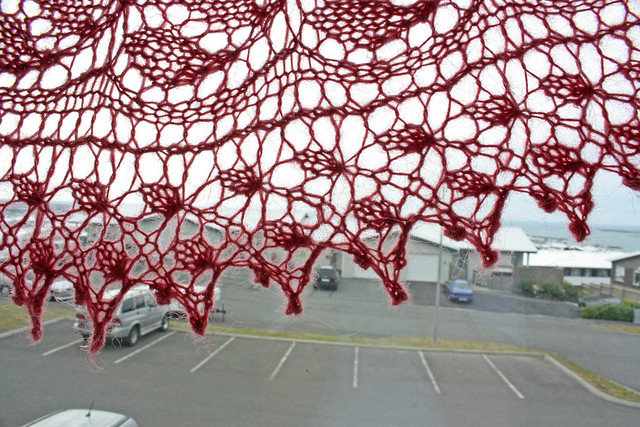
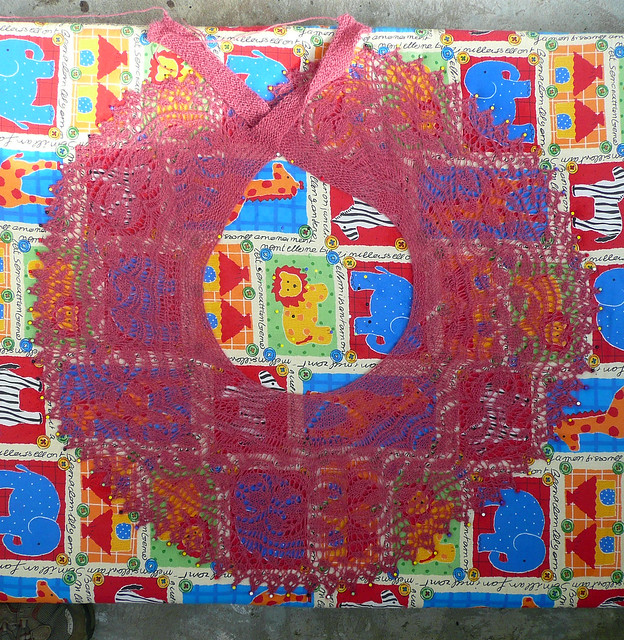
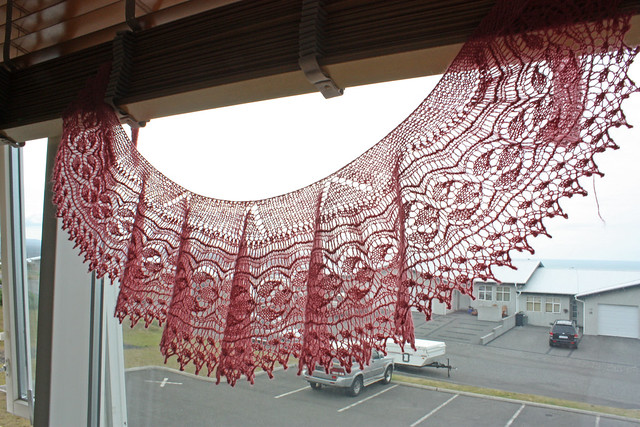
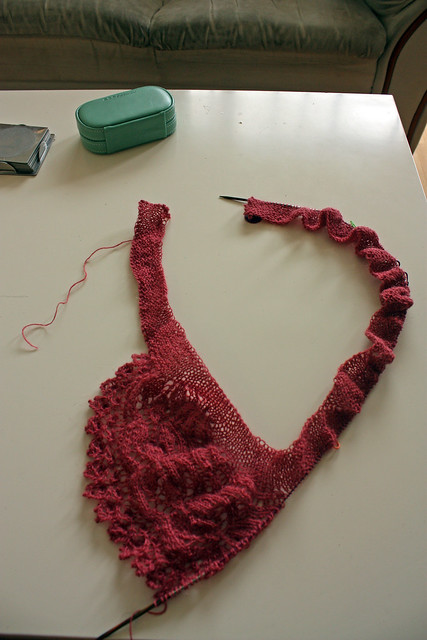
The Aeolian shawl is growing and growing. I have already started with the edge which is the main part of the whole shawl. At first I had decided to make the narrow edge version but finally I changed my mind and I am going for the full size version. I think it is going to look very, very good. I am very curious to see how it turns out!
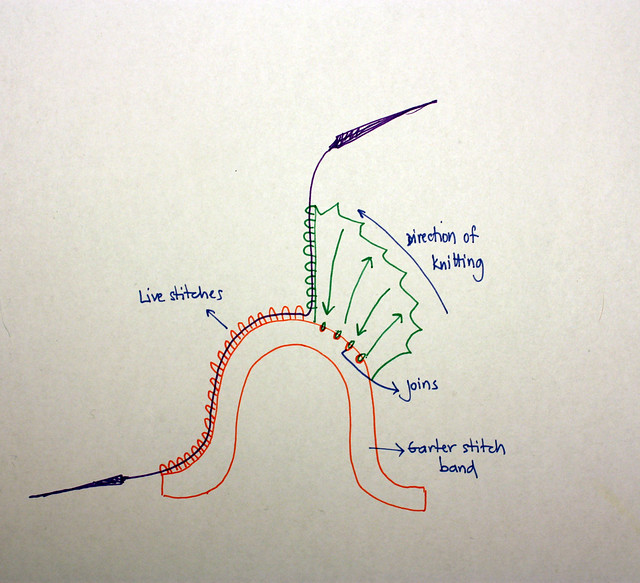
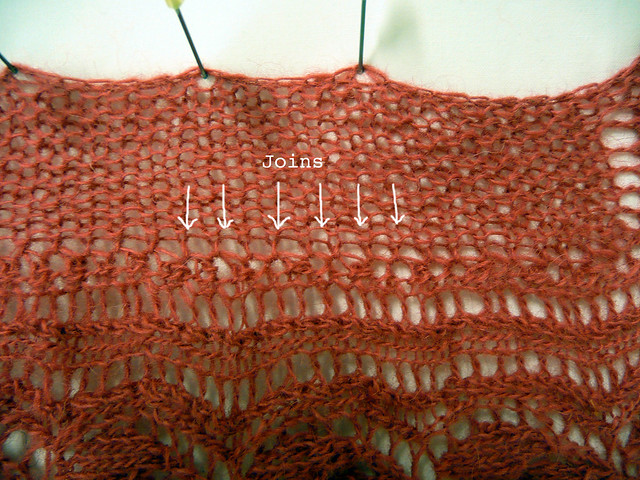
The whole process of knitting this shawl has been pretty smooth. Except for a couple of SILLY mistakes I have made that have made me frog a couple of long eternal rows. The instructions are quite clear except for the set-up edge section which is made out of four charts:
- Right edge chart.
- Edge set-up chart.
- Center edge chart.
-Left edge chart.
The construction is as simple as:
* Knit the 2 or 3 stitched of the garter stitch tab.
* Begin with the right edge chart.
* Continue with the edge set-up chart repeating it as many times as necessary to get to the center stitch.
* Make the center edge chart once (between the stitch markers that are before and after the central stitch).
* Knit the edge set-up chart again as many times as necessary to get to the end of the row.
* Knit the right edge chart.
* Knit the 2 or 3 stitched of the garter stitch tab.
There IS something strange in the way this section is written in the pattern (at least I found it weird)... so I had to make up my own little instruction to get it right.
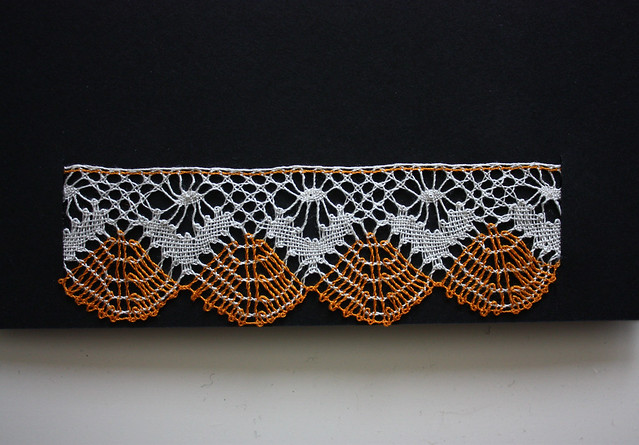
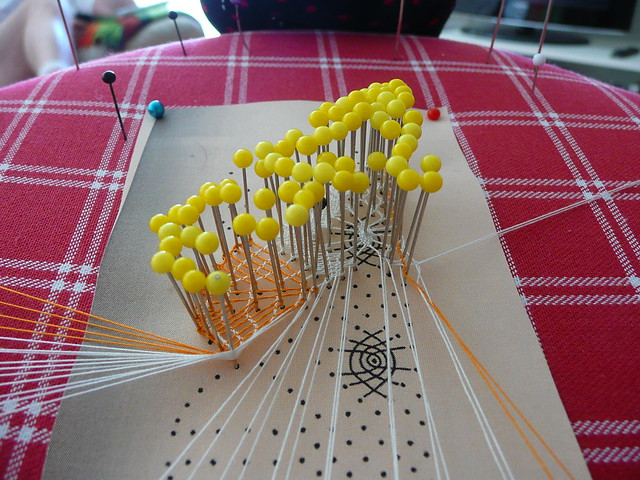
Today we were just at home, chilling out and Jóhann Birnir asked me, out of the blue, to teach him how to make bobbin lace. He is twelve years old and loves, loves, loooves handcrafts (and sports!). He is a great knitter himself! Now, how could I possibly say no?! IMPOSSIBLE!
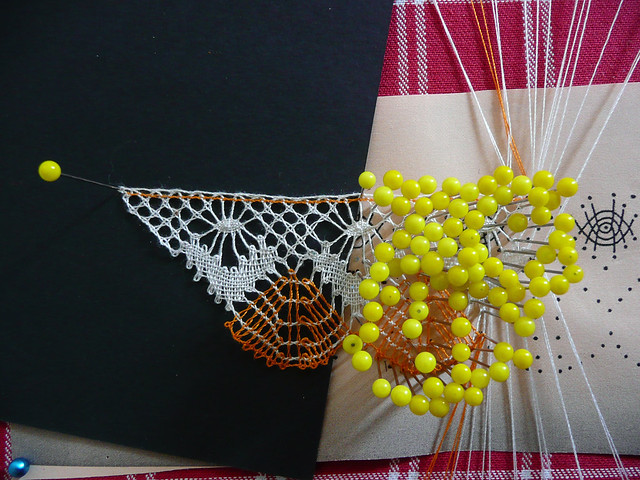
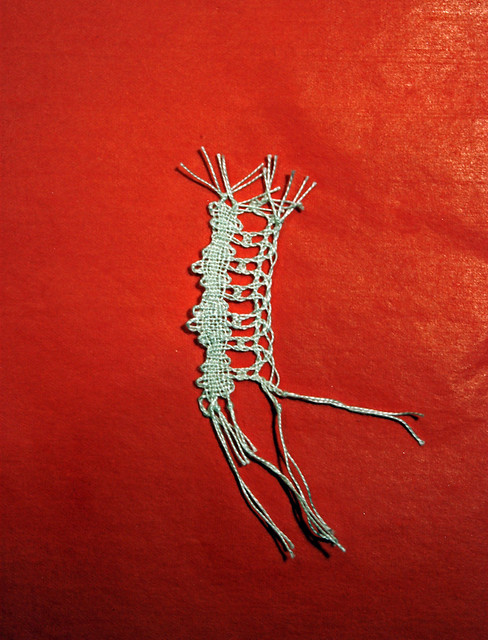
So, we started by loading the bobbins with some yellow, rather thick thread of linen. The first lesson: how to make a half stitch torchon ground. It was amazing how quicky he picked it up!! And how even the ground ended up! He made just a little piece because even though the thread looks really good it was kind of difficult to keep in the bobbins... somehow the knot that keeps the thread from running off the bobbins kept on running making it a little difficult to keep the bobbins in order. Anyways... Jóhann made a beautiful little first work!
I am so proud!!
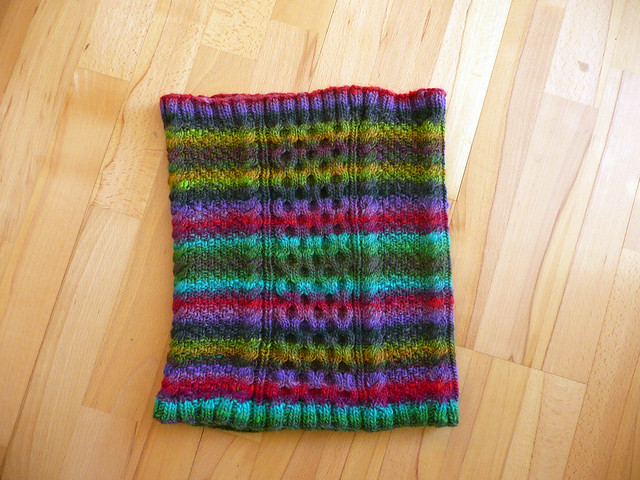
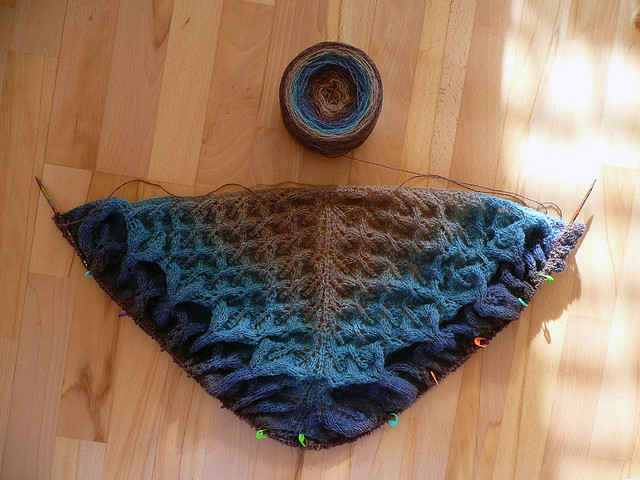 |
| This colors look so nice together! Don't you think? |
The whole process of knitting this shawl has been pretty smooth. Except for a couple of SILLY mistakes I have made that have made me frog a couple of long eternal rows. The instructions are quite clear except for the set-up edge section which is made out of four charts:
- Right edge chart.
- Edge set-up chart.
- Center edge chart.
-Left edge chart.
The construction is as simple as:
* Knit the 2 or 3 stitched of the garter stitch tab.
* Begin with the right edge chart.
* Continue with the edge set-up chart repeating it as many times as necessary to get to the center stitch.
* Make the center edge chart once (between the stitch markers that are before and after the central stitch).
* Knit the edge set-up chart again as many times as necessary to get to the end of the row.
* Knit the right edge chart.
* Knit the 2 or 3 stitched of the garter stitch tab.
There IS something strange in the way this section is written in the pattern (at least I found it weird)... so I had to make up my own little instruction to get it right.
Today we were just at home, chilling out and Jóhann Birnir asked me, out of the blue, to teach him how to make bobbin lace. He is twelve years old and loves, loves, loooves handcrafts (and sports!). He is a great knitter himself! Now, how could I possibly say no?! IMPOSSIBLE!
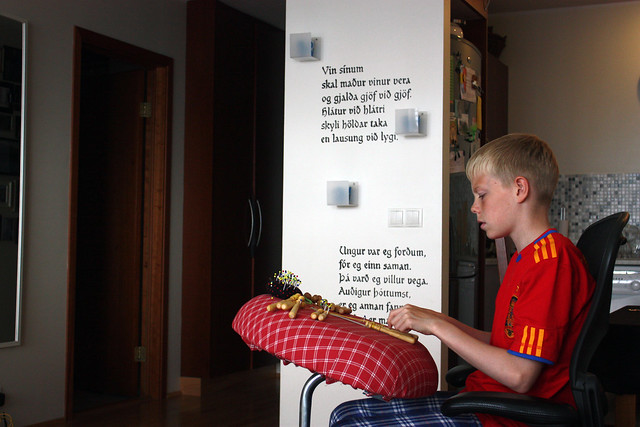 |
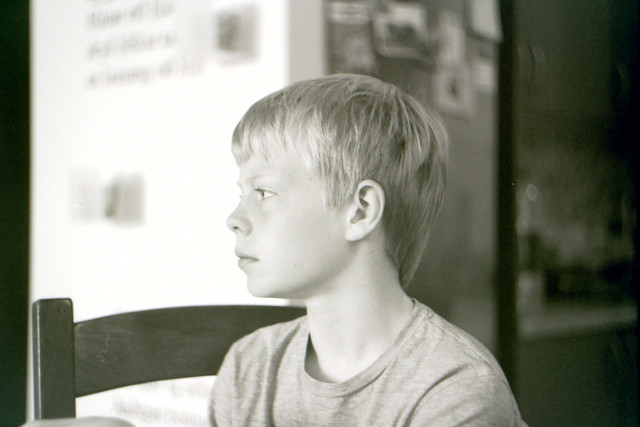
| Very concentrated. |
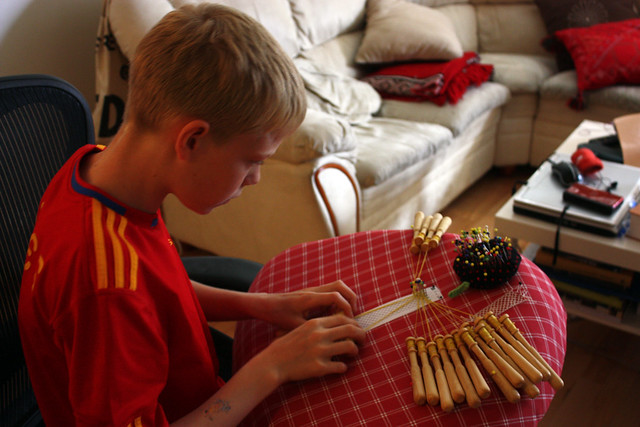 |
| Looking so PRO! |
 |
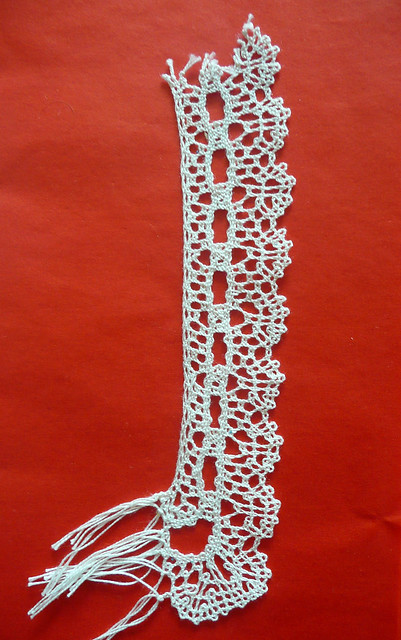
| Even and perfectly done! |
I am so proud!!